# Dockerfile_frontend
FROM node:20-buster  # VSCodeでアタッチできないとデバッグがしづらいためbusterを指定
WORKDIR /workspace

# -------------------------------------------------
# [1] 初期構築
# -------------------------------------------------

RUN apt-get update
RUN apt-get -y install locales && \
    localedef -f UTF-8 -i ja_JP ja_JP.UTF-8
ENV LANG ja_JP.UTF-8 \
    LANGUAGE ja_JP:ja \
    LC_ALL ja_JP.UTF-8 \
    TZ JST-9
RUN apt-get install -y vim
次にDockerを起動します。
docker-compose up --build
無事に起動できた場合、以下のようなログが出ます。
Recreating sample_frontend ... done
Attaching to sample_frontend
sample_frontend | Welcome to Node.js v20.12.1.
sample_frontend | Type ".help" for more information.
Dockerが起動できたらコンテナにアタッチしてReactを構築するコマンドを実行します。
cd /workspace/  # 作業ディレクトリに移動
npx create-next-app@latest  # Reactのプロジェクトを新規作成
# 実行結果と設定メモ
root@8b93b597330d:/workspace# npx create-next-app@latest
Need to install the following packages:
create-next-app@14.1.4
Ok to proceed? (y)  ### デフォルトのままEnter
✔ What is your project named? … .  ### workspace直下に展開したいのでドットを指定
✔ Would you like to use TypeScript? … No / Yes  ### デフォルト(Yes)のままEnter
✔ Would you like to use ESLint? … No / Yes  ### デフォルト(Yes)のままEnter
✔ Would you like to use Tailwind CSS? … No / Yes  ### Noを指定してEnter
✔ Would you like to use `src/` directory? … No / Yes  ### デフォルト(No)のままEnter
✔ Would you like to use App Router? (recommended) … No / Yes  ### デフォルト(Yes)のままEnter
✔ Would you like to customize the default import alias (@/*)? … No / Yes  ### デフォルト(No)のままEnter
Creating a new Next.js app in /workspace.

・・・省略・・・

added 316 packages, and audited 317 packages in 1m

125 packages are looking for funding
  run `npm fund` for details

found 0 vulnerabilities
Success! Created workspace at /workspace

# 最後にバージョンをあげるようnoticeが表示されることがありますが無視します
Reactを起動してみて画面が表示されることを確認します。
root@8b93b597330d:/workspace# npm run dev
> workspace@0.1.0 dev
> next dev
▲ Next.js 14.1.4
- Local: http://localhost:3000
Attention: Next.js now collects completely anonymous telemetry regarding usage.
This information is used to shape Next.js' roadmap and prioritize features.
You can learn more, including how to opt-out if you'd not like to participate in this anonymous program, by visiting the following URL:
 nextjs.org
✓ Ready in 1521ms
nextjs.org
✓ Ready in 1521ms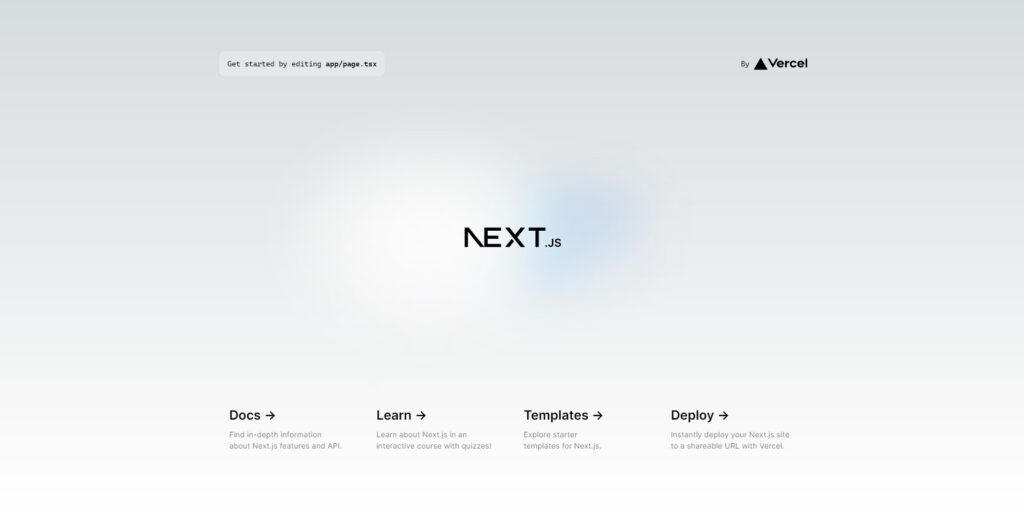

コメント